
Pointers on what to look for in terms of basic wear and tear on your rig.
For any sailor, the integrity of your rig is absolutely fundamental to your peace of mind. If you are at all worried, then every single creak and groan as you put the boat under pressure becomes a cause for concern.
That’s why it’s so important to take the time to thoroughly go over your rig
“There are a number of tell-tale signs of wear and tear you can look for straight away and you can also carry out a number of maintenance jobs which will help prolong the life of your rig, however if your rig has serious faults then you will need to get an expert in to have a look at it”, comments Vaughan Marsh, RYA Chief Instructor Sail Cruising.
Here are just a few pointers on what to look for in terms of basic wear and tear on your rig:
Basic checklist
You can find out a lot by getting up the mainmast in a bosun’s chair and having a close look. Take a digital camera with you have one to record any marks or damage, to assist with asking for advice or for future reference. Starting at the top of the mast, here are a few classic things to look for:
- Check the nav light attachment and any other light fittings, make sure they are still firmly secured; also check the quality of the light fitting. Crazing on the plastic will significantly affect the quality of the light.
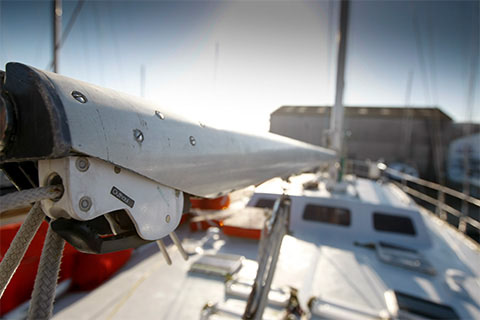
- Check the top of the furling gear, if you have had a halyard wrap, look out for the ‘pigtail effect’ whereby the wire halyard has started to unwind and breakdown or excessive chafe on a rope halyard.
In extreme cases the forestay can also be damaged. Check all sheaves are running freely and in good working order. If there is too much sideways or vertical play in a sheave, then it’s time to look at replacing it. If sheaves are not running freely, they may simply require some silicon spray.
- Check all ropes for signs of fraying, there is no harm in swapping ropes ‘end for end’; leading the worn top end back to the cockpit and using the less worn end at the top of the mast.
- Check the mainsail track looking for excessive wear, loose fasteners and loose joints in the track. Many masts have damaged track where the headboard car sits whilst sailing.
Inspect the whole of the mast including the sheave boxes for signs of cracking
- Check all shackles and pins to ensure they are tight and in good condition, make sure they are wired or cable tied to prevent them coming loose.
- Check all wire terminal backing plates for splits. Depending on your level of knowledge, you might need to check with an expert if you are unsure.
- Check for missing or loose rivets, if there is any play in them, they need to be drilled out and replaced.
- Check your radar mounting (if you have one); this is vulnerable to breaking as it is heavy and prone to getting swiped by the jib.
- Also to be checked is the security of the spreaders, both the inboard ends that are attached to the mast and the outboard ends that the rigging passes through or is attached to.
If you have spreader end protectors on the tips, take them off and inspect for corrosion underneath. If you don’t have protectors, it’s well worth fitting them to protect the sail.
- Check the sail entry gate: If the mainsail slides have been falling out over the course of the season then the pin or stop is missing, which is simple to replace.
- Run your hands carefully along wire rigging, any bumps or broken strands mean the rigging is damaged and will need to be replaced.
- If your mast is keel stepped, check the drain holes in the mast are clear. Salt water sitting in the bottom of your mast is a breeding ground for corrosion.